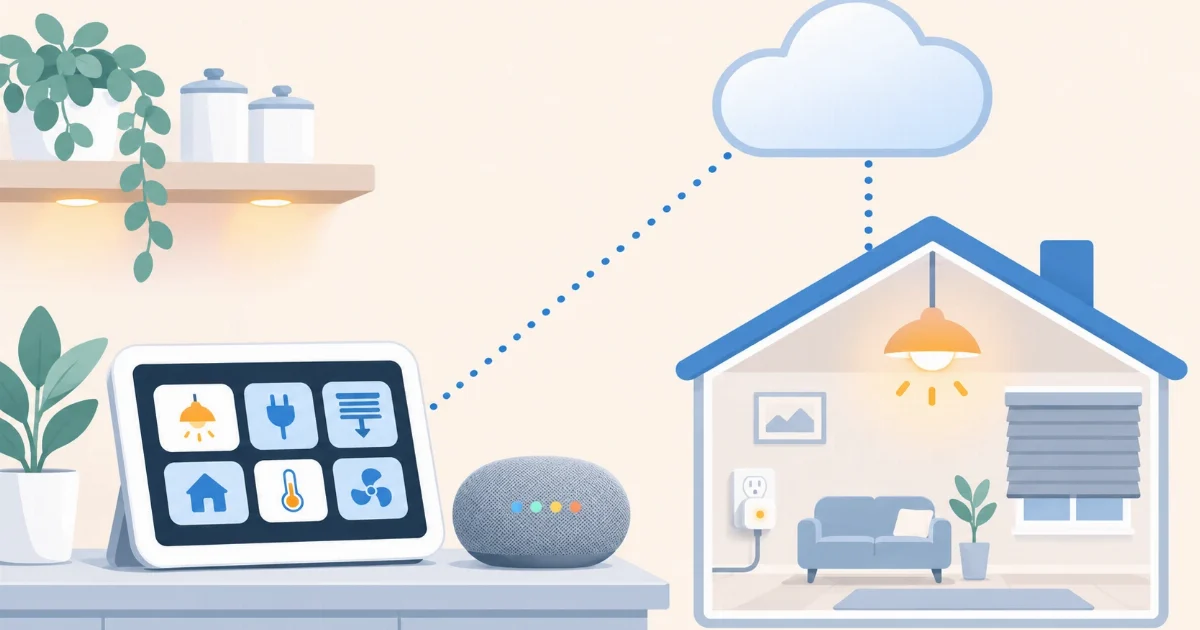

With Google Home and Google Assistant you can control your Home Assistant by voice and from the Google Home app, without paying for any extra subscription. You create your own project in Google’s developer console once: it takes about 30 minutes and it’s careful copy and paste. This guide follows the manual method in the official Home Assistant documentation, adapted to a cloud instance such as Coiaca Cloud HA.
On Coiaca Cloud HA you already have what Google requires: a public HTTPS address with a valid certificate.
What you need
- A Google account, the same one you use in the Google Home app.
- Your Home Assistant address, for example
https://ha.your-home.coiaca.app. - The file manager in your Coiaca panel, to upload a file and edit
configuration.yaml.
Step 1: create the project in the Google Home Developer Console
- Go to console.home.google.com/projects, click Create a Project and then Create project. Give it a name.
- Write down the Project ID shown under the name (something like
my-home-2ab12). - Click Add a Cloud-to-Cloud integration, then Next: Develop and Next: Setup.
- Tick the device types (you can tick them all) and upload a 144 × 144 pixel icon.
- Under Account Linking, fill in (with your own address):
- OAuth Client ID:
https://oauth-redirect.googleusercontent.com/r/YOUR_PROJECT_ID - Client Secret: any text without special characters; Home Assistant doesn’t use it.
- Authorization URL:
https://ha.your-home.coiaca.app/auth/authorize - Token URL:
https://ha.your-home.coiaca.app/auth/token - Cloud fulfillment URL:
https://ha.your-home.coiaca.app/api/google_assistant - Scope(s):
emailand, with Add scope,name.
- OAuth Client ID:
Step 2: let Home Assistant tell Google about changes
This lets Google know right away when a light turns on or off, and lets you say “sync my devices”.
- From the project menu, open Google Cloud at APIs and Services → Credentials and choose Create credentials → Service account.
- Give it a name and, for the role, choose Service Accounts → Service Account Token Creator.
- Open the service account, go to Keys → Add key and create a JSON key. A file downloads: rename it
SERVICE_ACCOUNT.json. It’s a credential, so don’t share it. - With the file manager in your panel, upload it to the same folder as
configuration.yaml. - In Google Cloud, search for HomeGraph API and enable it.
Step 3: turn on Google in Home Assistant
Edit configuration.yaml and add at the end, with your Project ID:
google_assistant:
  project_id: YOUR_PROJECT_ID
  service_account: !include SERVICE_ACCOUNT.json
  report_state: true
  exposed_domains:
    - light
    - switch
    - climate
    - cover
Save and restart Home Assistant from Settings → System.
Step 4: link it in the Google Home app
- In the Google Home app, go to Devices → + Add → Works with Google Home.
- Look for [test] followed by your project’s name and pick it.
- Your Home Assistant login page opens: sign in with your user. If Home Assistant is a shortcut on your phone’s home screen, remove it first, or it opens there instead of in the browser.
- Back in the app, assign rooms. Then try: “Hey Google, turn on the living room light”.
When you add new devices in Home Assistant, say “Hey Google, sync my devices”.
Names, aliases and what Google sees
google_assistant:
  project_id: YOUR_PROJECT_ID
  service_account: !include SERVICE_ACCOUNT.json
  report_state: true
  entity_config:
    light.living_room_ceiling:
      name: Living room light
      aliases:
        - Big light
      room: Living room
    switch.pool_pump:
      expose: false
Name and alias changes apply without a restart, with the google_assistant.reload action.
For the rest of the household
To let someone else use the same project, click Members in the console, give them access with their email and the Project → Viewer role, and send them the project link. They open it with their own account, accept the terms and add it from their Google Home app. Scenes and scripts must be assigned to an area for them to see them.
If something doesn’t work
- “Could not update the setting”: the Cloud fulfillment URL is wrong. Check it letter by letter.
- Error 403 when syncing: the HomeGraph API isn’t enabled.
- Error 500 or 429: the service account key is invalid; create a new one.
- An honest heads-up: because the project stays in test mode, for some people syncing stops working after about a month (“Unable to sync Home Assistant”). Voice control keeps working, and unlinking and relinking fixes it.
What about an integration without all this?
Connecting Google Home from your Coiaca panel, with no consoles or keys, is on our roadmap. Meanwhile, this method is free and works with all the usual device types: lights, plugs, thermostats, blinds, scenes and scripts. If you get stuck on a step, email us at support@coiaca.com.
Sources
Coiaca is not affiliated with Google, the Open Home Foundation or Nabu Casa. Google Home is a trademark of Google; Home Assistant is a trademark of its owners.