
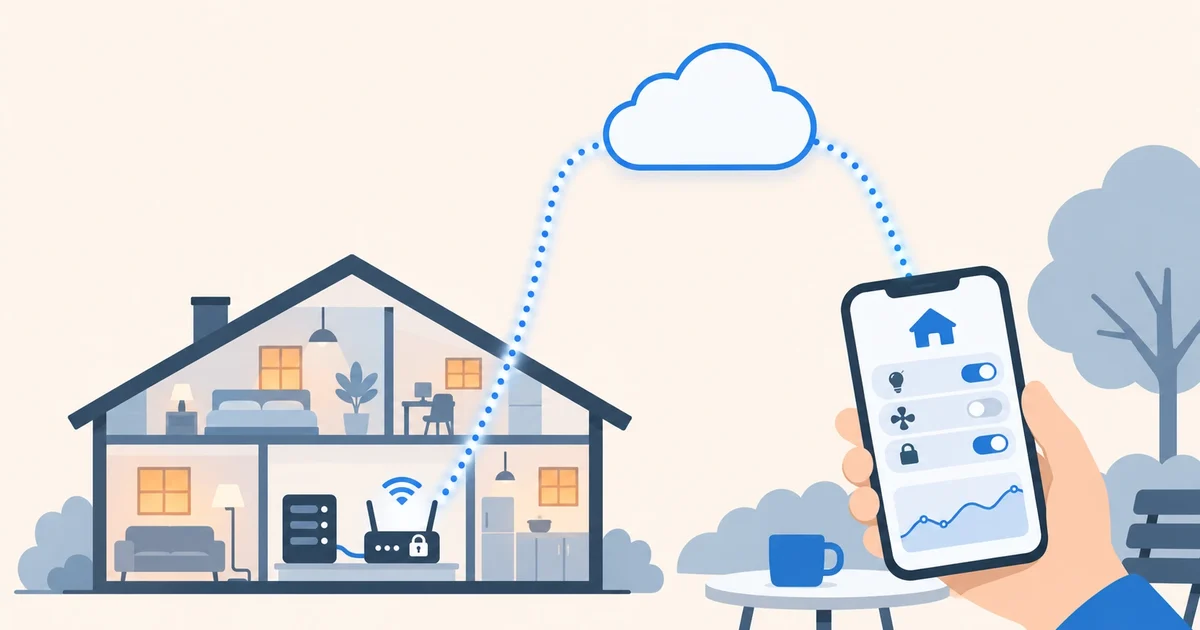

At home, Home Assistant responds instantly. You step outside, open the app and it won’t load: your Home Assistant lives on your home network, and nobody can reach it from outside. You need a way in. The best-known one, opening a port on your router, is exactly the one to avoid. Here are the alternatives, what each one needs and which one suits you.
Why you shouldn’t open a port
Opening (or “forwarding”) a port lets anyone on the internet reach your Home Assistant login page. Home Assistant’s own documentation is clear: simply opening the port is not secure. On top of that:
- You need encryption, with a certificate (from Let’s Encrypt, for example) that has to be renewed.
- Your home IP can change, and you lose access while you’re away. A dynamic DNS service such as DuckDNS fixes that: one more thing to maintain.
- It may not even work. Many internet providers share one public IP between several customers (CGNAT). If yours does, there’s no port to open unless you pay for a dedicated IP.
- You’re exposed. Any service open to the internet gets automated login attempts. One configuration slip, or one missed update, and the door is open.
Three ways in without opening ports
All three work the same way: the connection goes out from your home to an outside service, and you reach Home Assistant through it. Since nothing comes in from the internet, your router has nothing open and CGNAT stops being a problem.
1. Home Assistant Cloud (Nabu Casa)
The official subscription service, from the company that funds Home Assistant’s development. From December 2, 2026 it’s called Home Assistant Link. The official documentation calls it the easiest and safest option for most people: you turn it on with a single toggle, it opens no ports and it encrypts the traffic between your phone and your home.
- Cost: €7.50 a month or €75 a year, plus tax, with a 31-day trial and no card needed (November 2026 prices; also available in other currencies).
- Also includes off-site backups and the Alexa and Google Assistant connection, and your subscription supports the project.
- Keep in mind: Home Assistant is still at home. If the power or the internet goes out, or the machine fails, there’s no remote access either.
2. A private VPN: Tailscale
A VPN builds a private network between your devices, so your phone behaves as if it were at home. Tailscale is the simplest to set up (others include ZeroTier and WireGuard). On Home Assistant OS it installs as an app; on Home Assistant Container, you install it on the machine itself.
- Cost: the Personal plan is free for non-commercial use, for up to 6 users.
- Upside: Home Assistant isn’t published on the internet; only your devices get in.
- Keep in mind: the VPN has to be connected on your phone. If it isn’t, you can’t reach Home Assistant and, as the official documentation warns, the app’s sensors stop updating (location, for example, which many automations rely on). Everyone in the household needs an account and the VPN on their phone.
3. A tunnel: Cloudflare Tunnel
A small program (cloudflared) opens an outbound connection to Cloudflare, and your Home Assistant becomes reachable at an address on your own domain, certificate included. On Home Assistant OS there’s a community app that sets it up; on Container, cloudflared runs in its own container.
- Cost: the tunnel is free. You need your own domain (a few euros or dollars a year) with its DNS on Cloudflare.
- Upside: the app works from anywhere without a VPN, like any website.
- Keep in mind: it’s the most technical option. You have to tell Home Assistant to trust the proxy, and your Home Assistant is published on the internet, so use a strong password and turn on two-step verification. Traffic goes through Cloudflare’s servers.
The three options at a glance
| Cost | What you need | Difficulty | App without VPN | |
|---|---|---|---|---|
| Home Assistant Cloud | €7.50/month + tax | An account | Very easy | Yes |
| Tailscale | Free (personal use) | An account and the app on each phone | Easy | No |
| Cloudflare Tunnel | Free + domain | A domain on Cloudflare | Medium | Yes |
The other way: Home Assistant somewhere else
All three options solve how to reach a Home Assistant that lives in your home. If you host it in the cloud, the question changes: it already has its own address on the internet, and what connects is your devices.
That’s how Coiaca Cloud HA works. Your instance has its own address with a valid certificate, and the official app works from anywhere without a VPN or open ports. Your devices at home (Tasmota, Shelly, ESPHome over MQTT and many more) connect outward to your MQTT broker with TLS, so there’s nothing to open on the router either. And if the power or the internet goes out at home, Home Assistant keeps running in the cloud.
To be clear, it isn’t a fit for everything. If you rely on local network discovery, Google Cast, local RTSP cameras, Z-Wave or USB sticks, a Home Assistant at home with one of the options above suits you better. And Zigbee needs a network coordinator, which usually does require opening a port or setting up a tunnel.
Which one suits you
- You already run Home Assistant at home and want the easiest option: Home Assistant Cloud.
- Only you need access and you don’t mind turning on a VPN: Tailscale.
- You enjoy configuring things and already have a domain: Cloudflare Tunnel.
- You don’t have Home Assistant yet, or don’t want to maintain a machine at home: Home Assistant in the cloud.
Whichever you choose, the one thing you don’t need is what older tutorials recommend most: opening a port.
Meet Coiaca Cloud HA: your Home Assistant in the cloud, ready in about 15 minutes, with a 30-day free trial.
Sources
- Home Assistant: remote access
- Nabu Casa: Home Assistant Cloud pricing
- Tailscale: remote access to Home Assistant and pricing
- Cloudflare Tunnel and the Cloudflared app for Home Assistant
Coiaca is not affiliated with the Open Home Foundation, Nabu Casa, Tailscale or Cloudflare. Home Assistant is a trademark of its owners.