
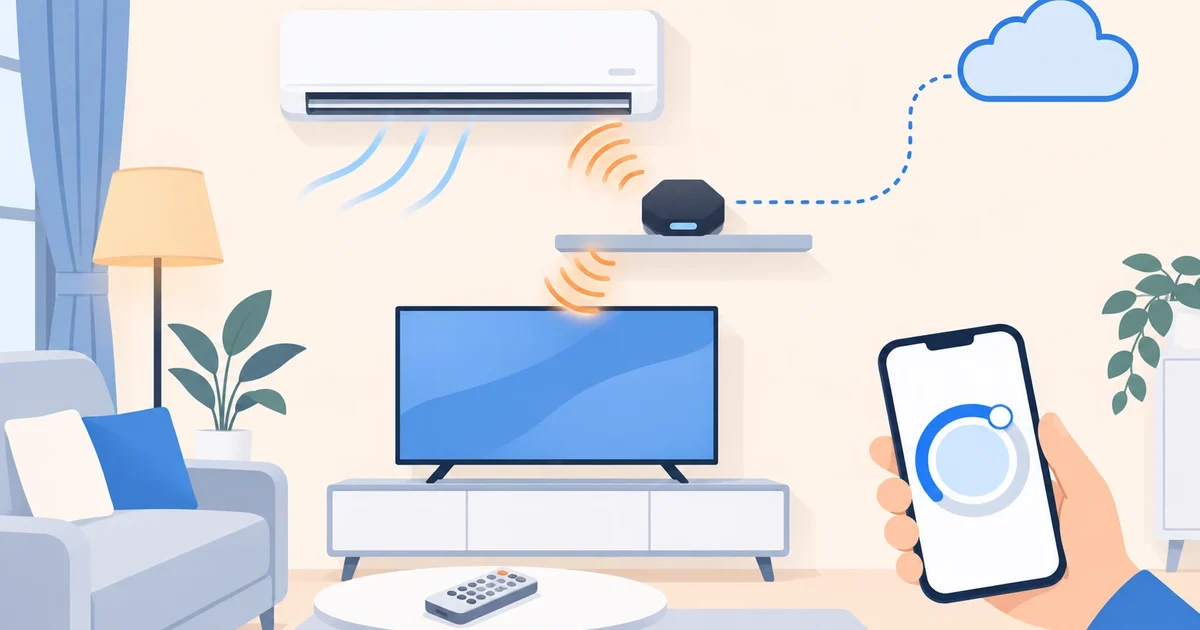

Your air conditioner, TV, ceiling fan or set-top box aren’t “smart”, but they all obey an infrared remote. With an infrared blaster connected to Home Assistant, that remote becomes your phone: you turn them on from outside the house, switch them off when nobody’s home and, for the air conditioner, turn it into a real thermostat. Here’s how we do it, with Home Assistant in the cloud.
What’s new in Home Assistant 2026.4, and the cloud route
Home Assistant 2026.4 brought native infrared support through “infrared proxies”: small ESPHome devices that send codes on Home Assistant’s behalf. It’s good news for Home Assistant installations at home, since those proxies connect over the local network.
What does work in the cloud is a blaster running Tasmota, an open firmware that speaks MQTT: the blaster connects to the internet by itself, receives orders over MQTT and turns them into infrared. No open ports, and nothing else running at home.
What you need
- An infrared blaster with Tasmota and Wi-Fi, placed where it can “see” your appliances. We use our own, with 8 infrared LEDs pointing in every direction and a receiver to learn codes, but any Tasmota-compatible blaster works.
- For the air conditioner, a Tasmota build with all infrared protocols (the
tasmota-irbuild, which Tasmota recommends for IR blasters). The standard build only includes some protocols, enough for many TVs but not for the air conditioner. - A temperature sensor in the air conditioner’s room (Zigbee, Wi-Fi, or one you already have in Home Assistant).
- Your cloud Home Assistant with its MQTT broker.
Step 1: connect the blaster to your Home Assistant
Open the blaster’s web page (its IP on your network), go to Configuration → MQTT and enter your instance’s MQTT broker details: server, port, user and password. Save, and the blaster restarts.
One detail: Tasmota on ESP8266 blasters does not encrypt the connection (it has no TLS). On Coiaca Cloud HA that is covered: in your panel you turn on the MQTT port without TLS, which is off by default, and the panel shows you the port and the password of a separate user for unencrypted devices. Use it only for the devices that need it. [CHECK DURING THE TEST: exact panel and user names.]
In Home Assistant, the Tasmota integration discovers it and adds it as a device (Tasmota ships with discovery turned on; if it doesn’t show up, type SetOption19 0 in its console). Write down its topic (it’s on the same MQTT page, something like tasmota_2ECD06): you’ll use it in the next steps.
Step 2: learn your remotes’ codes
On the blaster’s web page, open the Console, point the original remote at the receiver and press a button. A line like this shows up:
{"IrReceived":{"Protocol":"NEC","Bits":32,"Data":"0x20DF10EF"}}That’s the button’s code: protocol, number of bits and data. Repeat for every button you want to use. If the protocol shows up as UNKNOWN (it happens with some set-top boxes), type SetOption58 1 in the console and try again: Tasmota will give you the “raw” code, a list of numbers that can also be sent.
For the air conditioner there’s nothing to learn: Tasmota already knows the protocols of the common brands.
Step 3: the TV, with one button per command
Each code becomes a Home Assistant button that publishes the command over MQTT. With your instance’s file editor, add this to configuration.yaml (replace the topic with yours) and restart Home Assistant:
mqtt:
  button:
    - name: "TV power"
      unique_id: tv_power
      command_topic: "cmnd/tasmota_2ECD06/IRSend"
      payload_press: '{"Protocol":"NEC","Bits":32,"Data":"0x20DF10EF"}'
      availability:
        - topic: "tele/tasmota_2ECD06/LWT"
          payload_available: "Online"
          payload_not_available: "Offline"
    - name: "TV volume up"
      unique_id: tv_volume_up
      command_topic: "cmnd/tasmota_2ECD06/IRSend"
      payload_press: '{"Protocol":"NEC","Bits":32,"Data":"0x20DF40BF"}'
With one button per command (power, HDMI inputs, volume, mute, set-top box numbers) you can build a full remote on your dashboard as a grid of buttons, and use it from your phone wherever you are.
Step 4: the air conditioner, turned into a thermostat
Here’s the best part. An air conditioner remote doesn’t send “one degree up”: it sends the full state (power, mode, temperature, fan) with every press. Tasmota reproduces it with the IRhvac command, and Home Assistant can use it to make the air conditioner a thermostat that reads the room’s temperature, not the unit’s own sensor up by the ceiling.
1. A script that sends the state to the air conditioner. Replace SAMSUNG_AC with your brand (for example DAIKIN, MITSUBISHI_AC or LG; the full list is in the Tasmota docs) and the topic with yours. In scripts.yaml:
aire_enviar_ir:
  alias: Air conditioner - send state over IR
  mode: restart
  fields:
    power:
      description: "On or Off"
    temp:
      description: "Temperature"
  sequence:
    - action: mqtt.publish
      data:
        topic: cmnd/tasmota_2ECD06/IRhvac
        payload: >
          {{ {"Vendor": "SAMSUNG_AC", "Model": 1, "Mode": "Cool",
              "Power": power, "Celsius": "On", "Temp": (temp | int),
              "FanSpeed": "Auto", "SwingV": "On", "SwingH": "Off",
              "Quiet": "Off", "Turbo": "Off", "Econo": "Off",
              "Light": "On", "Filter": "Off", "Clean": "Off",
              "Beep": "Off", "Sleep": -1} | tojson }}
2. A switch that turns the air conditioner on and off with that script. In configuration.yaml:
template:
  - switch:
      - name: "Living room AC (power)"
        default_entity_id: switch.aire_salon
        turn_on:
          - action: script.aire_enviar_ir
            data:
              power: "On"
              temp: "{{ state_attr('climate.termostato_aire_salon', 'temperature') | int(24) }}"
        turn_off:
          - action: script.aire_enviar_ir
            data:
              power: "Off"
              temp: "{{ state_attr('climate.termostato_aire_salon', 'temperature') | int(24) }}"
3. A generic thermostat that uses that switch and your sensor. Also in configuration.yaml, with the room’s temperature sensor:
climate:
  - platform: generic_thermostat
    unique_id: termostato_aire_salon
    name: termostato_aire_salon
    heater: switch.aire_salon
    target_sensor: sensor.temperatura_salon
    ac_mode: true
    min_temp: 16
    max_temp: 30
    target_temp: 25
    cold_tolerance: 0.1
    hot_tolerance: 0.5
    min_cycle_duration:
      minutes: 5
    initial_hvac_mode: "off"
    precision: 0.1
With ac_mode: true the thermostat cools: it turns the air conditioner on when the room goes above the temperature you pick and off when it gets there. min_cycle_duration keeps it from starting and stopping every few seconds, which protects the compressor. On the dashboard, the thermostat card gives you the usual dial, but with the room’s real temperature.
4. Resend the state every 10 minutes. Infrared is one-way: if the air conditioner missed a command, or someone used its remote, Home Assistant doesn’t know. Since every send carries the full state, resending it now and then keeps things in sync. In automations.yaml:
- alias: Living room AC - resend state every 10 minutes
  mode: restart
  triggers:
    - trigger: time_pattern
      minutes: /10
  conditions:
    - condition: state
      entity_id: switch.aire_salon
      state: "on"
  actions:
    - action: script.aire_enviar_ir
      data:
        power: "On"
        temp: "{{ state_attr('climate.termostato_aire_salon', 'temperature') | int(24) }}"
If you also want to choose the mode (cool, dry, fan), the fan speed or the swing, create dropdown helpers and use them in the script instead of the fixed values. That’s how we have it, with mode and fan buttons under each thermostat.
What you can automate
- Turn off the air conditioner when nobody’s left at home, and get a notification on your phone.
- Turn on the bedroom air conditioner at a set time, only if you’re home, and turn it off in the early morning.
- Turn the TV on and off now and then as part of a presence simulation while you’re traveling.
- The other way around: use an old remote as a Home Assistant remote. The blaster’s receiver publishes every code it gets, and an automation with an MQTT trigger on
tele/tasmota_2ECD06/RESULTcan turn on a light when you press a button you never used.
Limits worth knowing
- Infrared needs to “see” the appliance. Furniture or a wall blocks it. A blaster with LEDs in several directions covers a room better, but two rooms need two blasters.
- It’s one-way. Home Assistant knows what it ordered, not what happened. That’s why the air conditioner resend, and why the TV has no “state”: the power button turns it both on and off.
- It depends on your Wi-Fi. If the blaster loses its connection, commands don’t arrive. The MQTT buttons in the example show as unavailable while the blaster is offline.
With Coiaca Cloud HA
Coiaca Cloud HA is official, unmodified Home Assistant on your own private cloud instance, with an MQTT broker already set up for devices like this blaster and a file editor for the YAML. It’s ready in about 15 minutes, with an HTTPS address for the app.
With the 30-day free trial you can connect your blaster and have your air conditioner and TV on your phone before the first payment. If it’s not for you, cancel before day 31.
Try Coiaca Cloud HA free for 30 days
Sources
- Home Assistant 2026.4: infrared
- Tasmota: infrared (IRSend and IRhvac)
- Home Assistant: generic thermostat
- Home Assistant: MQTT button
- Home Assistant: Tasmota integration
Coiaca is not affiliated with the Open Home Foundation, Nabu Casa, Tasmota or the manufacturers mentioned. The brands mentioned belong to their owners.