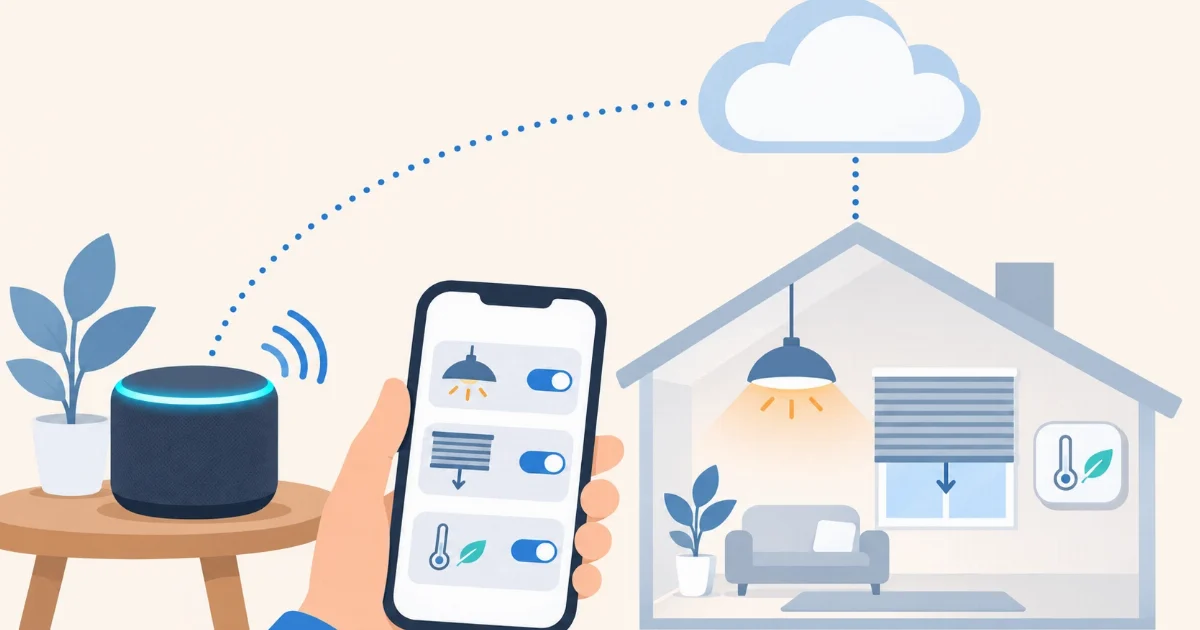

You can control your Home Assistant with Alexa without paying for any extra subscription. You create your own “skill” in Amazon once: it takes 30 to 45 minutes and you don’t need to code, just copy and paste carefully. This guide follows the manual method in the official Home Assistant documentation, adapted to a cloud instance such as Coiaca Cloud HA.
On Coiaca Cloud HA you already have the hardest part of this setup: a public HTTPS address on port 443 with a valid certificate. With Home Assistant at home, that would mean opening ports, dynamic DNS and a certificate.
What you need
- An Amazon developer account (developer.amazon.com), using the same Amazon account as your Alexa app.
- An AWS account for a small Lambda function. A home’s usage fits comfortably in the AWS free tier (one million requests a month). AWS asks for a card when you sign up.
- Your Home Assistant address, for example
https://ha.your-home.coiaca.app.
Step 1: turn on Alexa in Home Assistant
Open the file manager in your Coiaca panel, edit configuration.yaml and add at the end:
alexa:
  smart_home:
    locale: en-US
Use the language of your Alexa (en-US, en-GB, de-DE, es-ES…). Save and restart Home Assistant from Settings → System, with the restart button at the top right.
Step 2: create the skill in Amazon
- Open the Alexa Developer Console and click Create Skill.
- Give it a name (for example “My home”) and choose your Alexa’s language.
- Choose Smart Home and Provision your own, then click Create skill.
- Check that Payload version is
v3and copy the Skill ID. Keep this tab open.
Step 3: create the Lambda function in AWS
The Lambda function is the bridge: it receives what you say to Alexa and passes it on to your Home Assistant.
- In the AWS console, go to IAM → Roles → Create role, choose AWS Service → Lambda, add the
AWSLambdaBasicExecutionRolepolicy and create the role. - Go to Lambda and, at the top right, pick the region by your Alexa’s language, not by where you live: US East (N. Virginia) for English (US) and English (Canada); EU (Ireland) for English (UK), German, Spanish (Spain) and French; US West (Oregon) for Japanese and English (Australia). A wrong region makes account linking fail with no error.
- Create function → Author from scratch, with Runtime set to the latest Python 3 and, under Change default execution role, the role you created.
- Click + Add trigger, choose Alexa Smart Home and paste the Skill ID from step 2.
- Under Code source, clear the sample in
lambda_function.py, paste the code linked from the official documentation (“Create an AWS Lambda function” section) and click Deploy. That code is maintained by the community, not by Home Assistant. - Under Configuration → Environment variables, add
BASE_URLwith your Home Assistant address, without a trailing slash. Save. - Copy the function’s ARN, shown at the top.
Step 4: connect the skill to the function and to your account
Go back to the Alexa Developer Console and open your skill.
- Under SMART HOME, paste the ARN into Default endpoint and save.
- Under ACCOUNT LINKING, fill in (with your own address):
- Authorization URI:
https://ha.your-home.coiaca.app/auth/authorize - Access Token URI:
https://ha.your-home.coiaca.app/auth/token - Client ID:
https://pitangui.amazon.com/in the US and Brazil,https://layla.amazon.com/in Europe. The trailing slash matters. - Client Secret: any text; Home Assistant does not check it.
- Your Authentication Scheme: Credentials in request body.
- Scope: add
smart_home.
- Authorization URI:
Step 5: enable it in the Alexa app
- In the Alexa app, go to More → Skills & Games → Your Skills → Dev.
- Open your skill and tap Enable to use. Your Home Assistant login page opens: sign in with your user.
- Alexa looks for devices. If it doesn’t, say “Alexa, discover devices”.
Try “Alexa, turn on the living room light”. The skill stays in development mode, which is normal for personal use: only your account sees it.
Choosing what Alexa sees
By default, Alexa sees every supported device. To choose, add a filter to configuration.yaml and restart:
alexa:
  smart_home:
    locale: en-US
    filter:
      include_domains:
        - light
        - switch
        - climate
      exclude_entities:
        - switch.pool_pump
    entity_config:
      light.living_room_ceiling:
        name: "Living room light"
If something doesn’t work
- Linking fails with no explanation: it’s almost always the Lambda region or a Client ID that doesn’t match your Alexa’s language.
- Alexa finds nothing: check that
BASE_URLhas no trailing slash and that you restarted Home Assistant after addingalexa:. - An alarm doesn’t show up: Alexa can’t arm it by voice with a code. To disarm, it asks for a 4-digit PIN.
What about an integration without all this?
Connecting Alexa from your Coiaca panel, with no Amazon consoles or AWS, is on our roadmap. Meanwhile, this method is free and, once set up, works like any other Alexa smart home. If you get stuck on a step, email us at support@coiaca.com.
Sources
Coiaca is not affiliated with Amazon, the Open Home Foundation or Nabu Casa. Alexa is a trademark of Amazon; Home Assistant is a trademark of its owners.