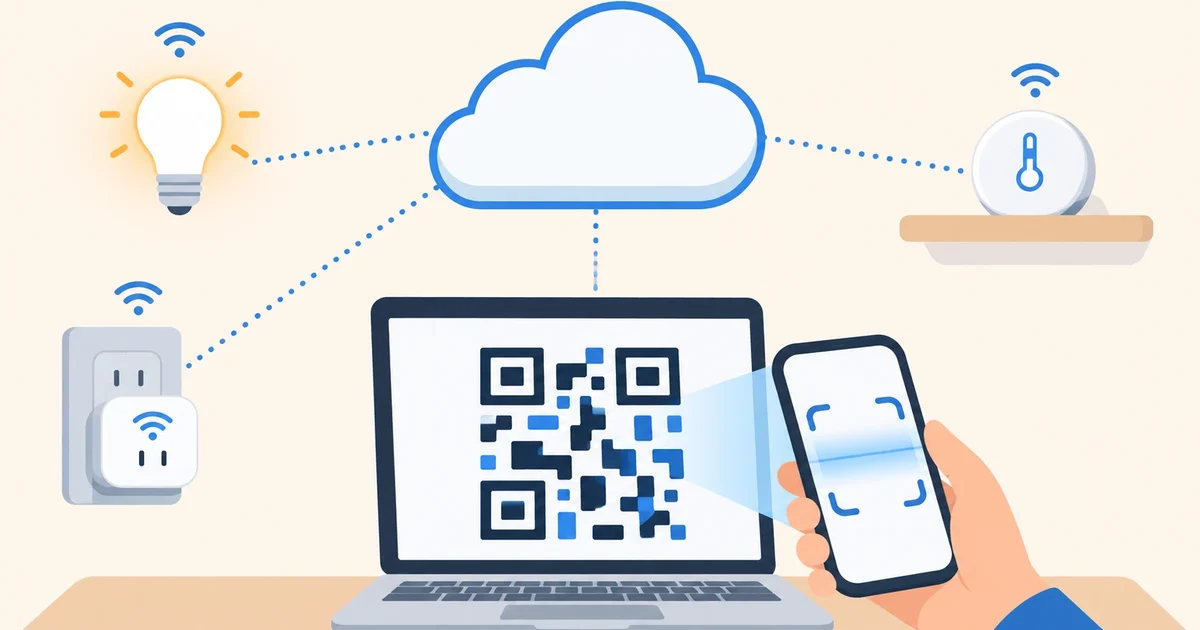

Lots of cheap Wi-Fi plugs, bulbs, sensors and switches are set up with the Smart Life or Tuya Smart app, even when the box shows a different brand. They all run on the Tuya platform, and Home Assistant has an official integration for them. You don’t need to flash new firmware, open the device or create a developer account: with the app you already use and a QR code, your devices show up in Home Assistant in a couple of minutes.
Prefer to watch or listen? We also cover it in an episode of the Coiaca Podcast, with video:
Follow the show on Spotify: The Coiaca Podcast.
Why it works just the same with Home Assistant in the cloud
The Tuya integration doesn’t talk to your devices over your home network: it talks to the Tuya cloud, the same one the app uses. So it doesn’t matter where your Home Assistant runs. Whether it’s on a Raspberry Pi in the living room or on an instance in the cloud, the path is the same: Home Assistant → Tuya cloud → your device. No open ports and no VPN.
Before you start
- The Smart Life or Tuya Smart app on your phone, with your account and at least one device added.
- A second screen: you’ll open Home Assistant on your computer (or a tablet) and scan the QR code it shows with your phone.
- If your device uses another brand’s Tuya-based app and it won’t let you sign in, move it to Smart Life: that’s the app it works best with.
Step 1: find your user code in the app
In the app, go to Me, tap the gear icon in the top-right corner and open Account and Security. Your User Code is at the bottom. Keep it handy.
Step 2: add the integration in Home Assistant
In Home Assistant, go to Settings → Devices & services, select Add integration and search for Tuya. Enter your User Code and continue. A QR code appears on screen.
Step 3: scan the QR code with the app
In the app, tap the + button (or Add Device), choose the scan option and point it at the QR code on screen. The app asks you to confirm the login: accept it. The QR code expires quickly, so have the app open before you get to this step.
Step 4: your devices, now in Home Assistant
Home Assistant creates a device for each one in your account, with its entities: switches, lights, sensors, covers or thermostats, depending on what each one is. The scenes you’ve created in the app show up in Home Assistant too.
One thing worth knowing: if you add a new device in the app later, it won’t appear on its own. Go to Settings → Devices & services → Tuya, open the three-dot menu and select Reload.
Three automations to get started
- Welcome light: when you get home after sunset, the hallway bulb turns on. It uses your phone’s location and the sun, which Home Assistant already knows.
- Everything off when you leave: when the last person leaves home, the plugs and lights that were left on turn off.
- Temperature alert: if the bedroom sensor goes above 26 °C (79 °F), you get a notification on your phone.
And the best part: in Home Assistant you can mix your Tuya devices with any other brand in the same automation, something the Tuya app can’t do.
Good to know
- It depends on the Tuya cloud. If the Tuya cloud or your internet connection goes down, the devices don’t respond from Home Assistant. The same happens with the app.
- Locks and remotes aren’t supported by the integration. Every other device type is.
- Bluetooth devices must be connected to the app through a Tuya gateway (Bluetooth or multi-mode), not directly to your phone. Otherwise they show as unavailable in Home Assistant.
- Not everything the app does is available. Some advanced features of certain devices don’t reach Home Assistant. You can see what each one exposes by downloading its diagnostics from the device page.
- If Home Assistant keeps asking you to sign in again, it’s usually because Tuya changed its terms: the official documentation explains how to fix it.
You’ll probably read about Tuya Local, a community integration that controls the devices without going through the Tuya cloud. It needs Home Assistant on the same network as the devices, so it doesn’t work with Home Assistant in the cloud. If you want devices that don’t depend on the manufacturer’s cloud, go for ones that work over MQTT, like those running Tasmota.
Your Tuya devices, in your Home Assistant in the cloud
Coiaca Cloud HA is official, unmodified Home Assistant on your own private instance. It’s ready in about 15 minutes, with an HTTPS address so the app works from anywhere with no VPN. Add the Tuya integration as shown in this article and your plugs, bulbs and sensors appear, without buying anything else or leaving a box running at home.
With the 30-day free trial you can connect all your Smart Life devices and run your automations for a whole month. If it’s not for you, cancel before day 31 and that’s it.
Try Coiaca Cloud HA free for 30 days
Sources
Coiaca is not affiliated with the Open Home Foundation, Nabu Casa, Tuya or the manufacturers mentioned. Home Assistant, Tuya and Smart Life are trademarks of their respective owners.