Say Goodbye to Unattractive Smart Switches and Hello to Seamless Integration with Your Home Decor!
Hey there, fellow home improvement enthusiast! Home automation is like stepping into the future, right in the comfort of your own home. But hey, what about aesthetics? Sure, smart switches are convenient, but what if they clash with your home’s design or the switches you already have installed?
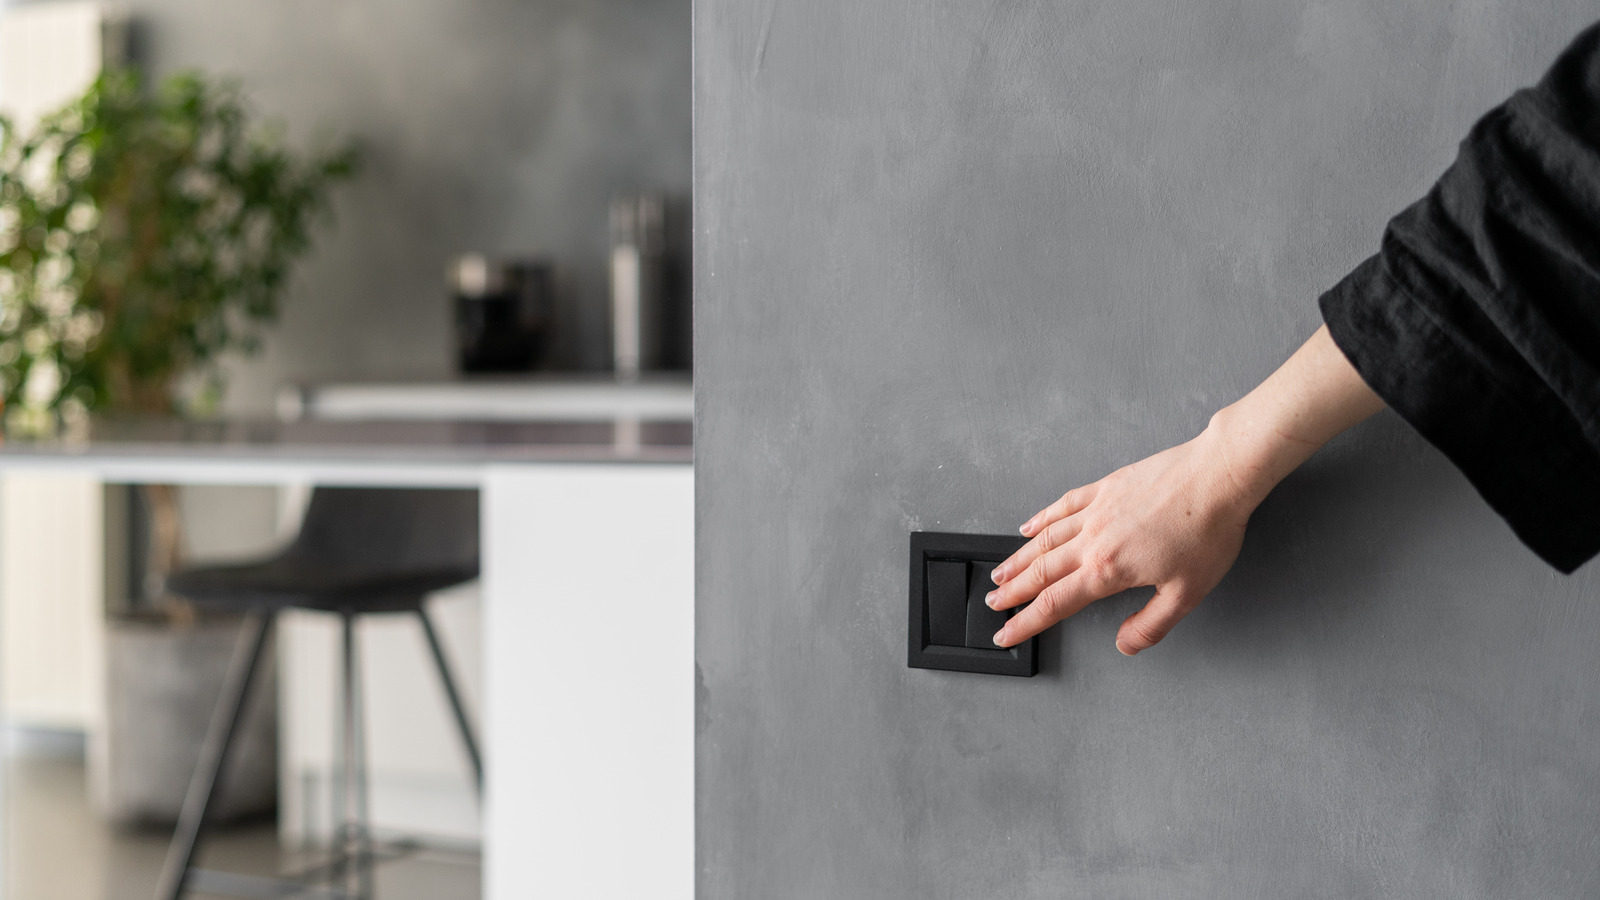
Well, my friend, that’s where Coiaca AWR01 swoops in to save the day! With this nifty device, you can turn any standard push button, like the ones used for doorbells, into a smart switch that blends seamlessly with your existing decor. No more sacrificing style for convenience!
Imagine that you are integrating the switch into your home automation system to turn on the light in a room where you can enter to get a coat and leave, but you may also want to turn on the light indefinitely.
Then you could program the button so that when you touch it, it turns the light on and turns it off automatically after a minute, which is enough time to grab your coat and go out. You can also program it so that if you press it twice, the light stays on until you press it again. You could also program it so that when you press it three times it triggers an automation to turn the light on at a certain time. And if you’re feeling extra fancy, why not program it to trigger a custom automation with four taps to make something different than turning on lights?, for example to arm your home security system or act as a panic button. The possibilities are truly endless!
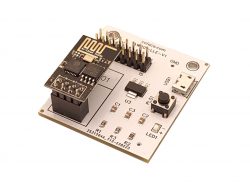
The Coiaca AWR01 comes equipped with a built-in button, and with the Tasmota firmware installed, you can effortlessly integrate it using straightforward wiring and configuration. Plus, it’s USB powered that alleviates any concerns about power supply compatibility. Just use a standard 1 amp smartphone charger, and you’re good to go.
But here’s the best part – setting up the Coiaca AWR01 is a breeze. All you need is a few basic materials:
- 1 Coiaca AWR01 with ESP8266-01 flashed with Tasmota.
- 1 micro USB mobile phone charger 1 ampere or higher
- The button that you want to convert into smart
- 2 wires, each long enough to reach from the button to where you place the Coiaca AWR01. Any cable can be used for this, but it is recommended to use the 0.22mm cable used for electric intercoms.
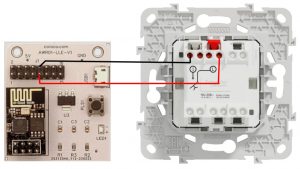
The wiring is super simple: PIN 9 of the Coiaca AWR01 to one of the button connectors and PIN 10 to the other button connector. Done!

Now, a word of caution – when handling or installing the device, be sure to avoid placing it on metal surfaces or do anything that could cause a short circuit.
Once your wiring is sorted, all that’s left to do is power up your device and configure the Tasmota firmware for seamless integration with your home automation system. Don’t worry, it’s easier than it sounds – In this link you can find all Home Automation systems the firmware can be integrated to.
So, there you have it – with the Coiaca AWR01, you can kiss those unsightly smart switches goodbye and say hello to a home automation setup that’s as stylish as it is convenient. Ready to take your smart home to the next level? Let’s do this!
-
 WiFi Development Board TASMOTA Compliant – AWR01Price range: 9,99 € through 15,99 €
You can also connect a second button to another pair of the AWR01 pins and thus control two buttons at the same time, but it will require adding some resistors, and If you need to control more than two buttons, with the Coiaca AWR12 you can do it. I will explain this in detail in another post.


